The most recent trends in the design industry today are Vector images. In this tutorial, we’ll create this effect in Adobe Photoshop.
First: Prepare Your Image
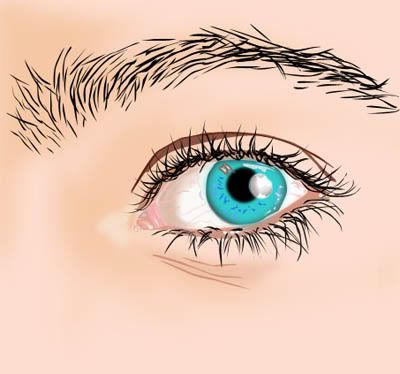
Unless you're very artistic, you will need a help from a reference photograph. You’ll need to posterized the photo to break the illustration down to its basic colors. But don’t follow every line of a posterized image or else your vector graphics may become dull.
I always create a copy of any images of my project, just to make sure that I have a good one that I can work on again in case I mess up. This time I created a copy twice, one is for back up and another to posterized.
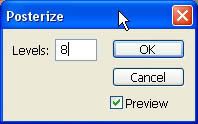
To posterized a photo, go to IMAGE, ADJUSTMENT then select POSTERIZE. On the Levels you can experiment on the value, but 8 or 9 is a good starting point.
Trace the image
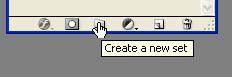
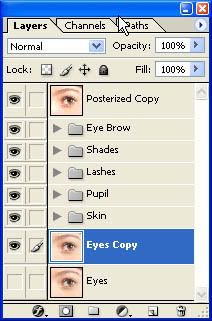
You can start from any part of your image, you can begin from the point where you think you’re comfortable with. In this tutorial I started my tracing from the pupil of the eye. I create a Layer Set to make my layer organize so it’s easy for me to go back and change any part of the image just in case.
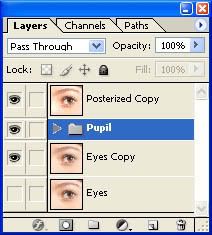
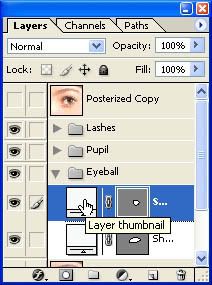
I position the Set Layer in between the Image copy and posterized copy.
Shape layer
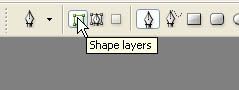
Before you start, make sure that the Shape layer option is selected.
Now we are all set we can now start tracing part of the image. Along the way you need to use sharp curve, you can achieve this by holding down ALT key, then drag the tangent line to make a sharp curve.
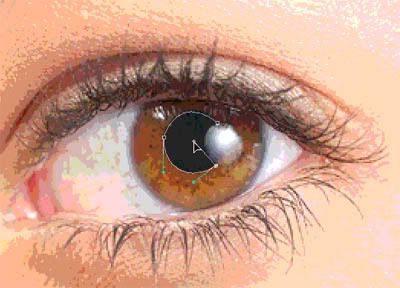
Now we can close the path.

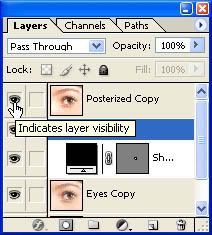
Because the Shape layer we created is in between the POSTERIZED layer and EYES copy layer, only the outline of the Shape is visible. If you want to view the Shape layer just click the eye icon on the left side of the layer, it indicates the visibility of a layer.
Trace again the next part of the image, the layer on top is always on top of the image, so you have to work the arrangement of the layer. I added the Set layer of the eyeball UNDER the pupil Set layer.
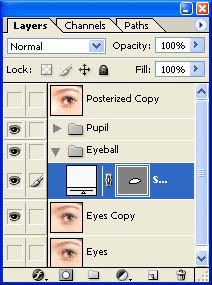
The shape layer we created is now UNDER the pupil shape layer.

I added another shape layer ON TOP of the Eyeball layer in Eyeball set.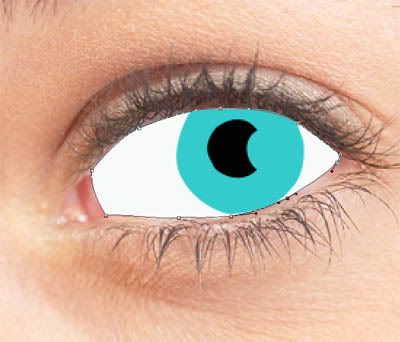
To change the color of the Shape layer, double click on the Layer thumbnail.
A Color Picker dialog box will appear, you will notice that if you move the mouse pointer outside the dialog box the pointer will change to Eye dropper tool, you can click on the color you want to copy.
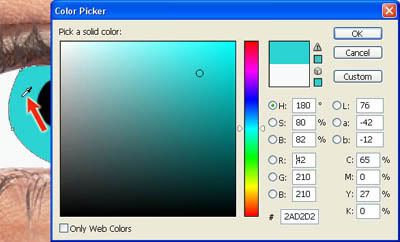
Abstraction for the photo when selecting a color or tone while creating a shape layers will make your vector photo an outstanding one.
You can now add the details of the eye accordingly. When done, you can work on other part of the eye. Next I started to trace the Eyelash, but before doing so, I created another Set Layer. Rename it Lashes and position it ON TOP of the pupil set layer.

As always I use the ALT and CTRL key to modify the anchor point of the shape. Use ALT to make a sharp curve and CTRL to move the position of the point. You can use the CRTL + to zoom in and CTRL – to zoom out.
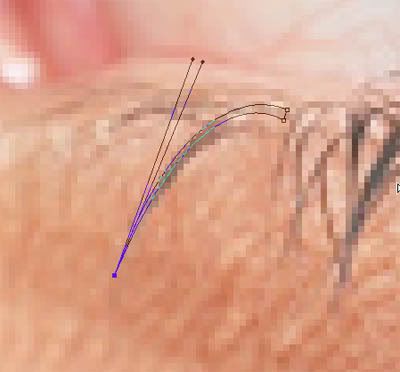
You can copy the shape and use transform tool to change its appearance, but I prefer to draw each lash just to practice my Pen tool skill. When done, I created another Set layer for the Eyebrows. I also added another Set layer for the shading of the skin.
I created more than 400 layers to finish the vector image; obviously I cannot show you every step.
Adding Skin Effects
When you add effects to a vector image, it will decrease its artistic merit, but sometime people what to do this just to add life to a vector image.
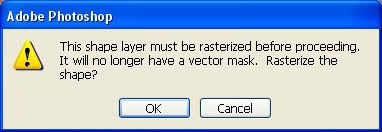
To achieve the subtle changes of the skin tone, use the Blurring effect, FILTER, BLUR, then select GAUSSIAN BLUR, but before I do this I usually created a copy of the layer I want to blur. So when I needed to modify the part of the image I have a Vector mask copy that I can work on. In view of the fact that if you use this tool the layer is no longer vector shape.
A confirmation dialog box will appear.
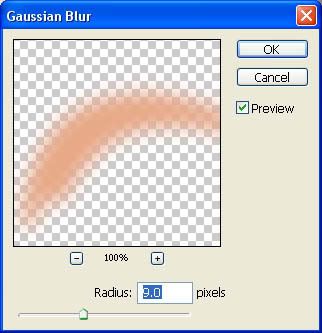
You can experiment on the value of the radius of the blurring, the higher the value the lesser the sharpness of the image.
This is how my layers look; I copy and hide the original layer by turning off the eye icon on the left side of the layer.
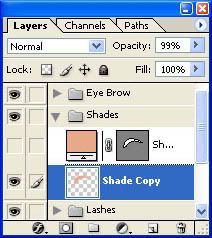
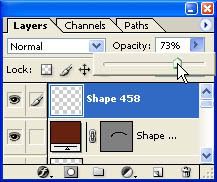
You can also tweak the visibility of the layer to achieve the look that you want for your image. By adjusting the opacity of a layer, it will have a better complexity.
This is how my finish Set layer looks after completing all the layers.
Last step is to hide the reference photo layer.
If you want your output file from Photoshop to be a Vector file you will need Adobe Illustrator.
