When you are presented with a subject that contains a complex outline, such as the human hair, the question is: how do you go about separating the hair from the background? More to the point, how can you do this convincingly without it looking like an obvious retouch job?
You need knowledge in using the pen tool and combining it with the use of vector masks. You will find out that it is an effective way of isolating a subject.
The best way is to make use of the existing color channel contents and to copy the information which is already there in the image and modify it to produce a new mask channel.
Preparing the image
If you want these techniques to work well you need to shot your model with a white background, but in any case you don’t have that kind of image just make some techniques to overcome the situation.
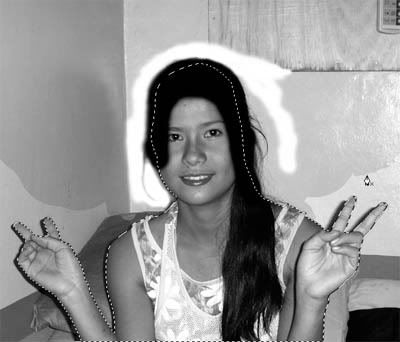
Since the photograph I used in this tutorial has a complex background and not white as I said earlier, I decided to use the color replacement tool to replace the color of the background, just to make sure that when I use the channel technique my image has a good contrast. But if you have a white background or a lighter shade you can skip this procedure. 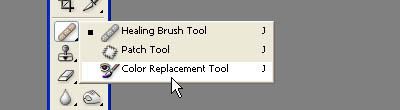
Brush it on the area, it only replace the color with similar color in the middle of the circle with a + sign. Increase the brush size by pressing CTRL + and decrease using CTRL -.
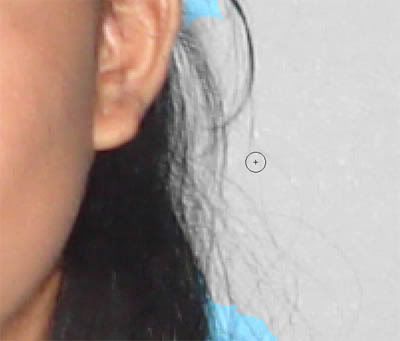
Here’s the finish image using color replacement tool. I was only interested in the area where the hair is, I leave the other part, and we can do that later.

Keeping the edges soft
Retouched photographs will not look right if they feature ‘pixel-sharp’ edges. Softer masks usually make for a more natural looking finish. A mask derived from a path conversion will be too crisp, even if it is anti-aliased. So, either feather your selections or if you have a layer mask, try applying a little Gaussian blur. You might find it helpful to use the blur tool to locally soften mask edges. Or you could apply a global gaussian blur filtration to the mask.
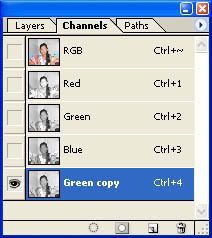
Look at the individual color channel and duplicated the one that contained the most contrast. Duplicate by dragging it to the New Channel button in the Channel palette.
Now we needed to increase the contrast in the alpha channel and make the hair darker making use of the pixel information already present in the photograph.
Go to IMAGE menu and choose APPLY IMAGE, the target channel was the Green copy, the source channel was also Green copy and the blending mode had been set to Overlay. 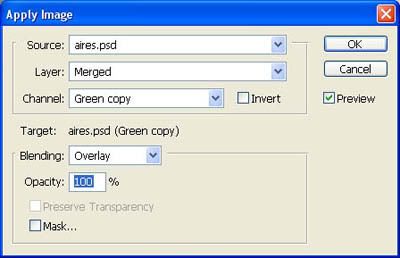
To increase the contrast even more, we can use the paintbrush tool 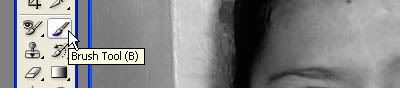
Set it to Overlay mode and switch between using black and white as the foreground color. As you paint with black, paint is only applied to dark pixels, and with white, paint is only applied to the lighter pixels. 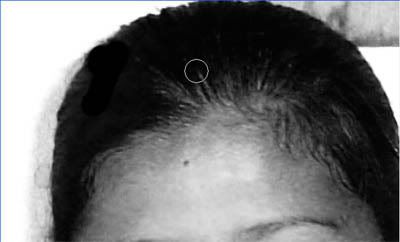
Be careful not to build up too much density on the outer hair strands. Use the opacity of the brush to control the density.
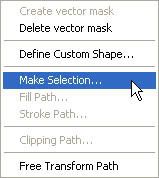
Using the pen tool trace the body to draw a path, then convert the pen path to a selection by dragging it to Make Selection button in the Path Palette, or just right click and choose Make Selection. Don't know how to use pen tool? Click here
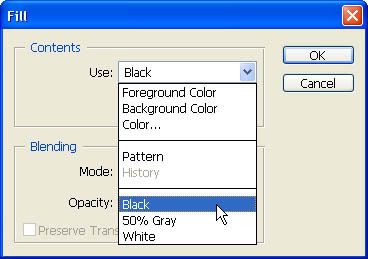
Then fill the selection with black
Inverse the selection,
Then go to Layer palette and erase the background, just to be sure that the selection is clear, I do this using a large eraser brush. Leave the part that are near the hair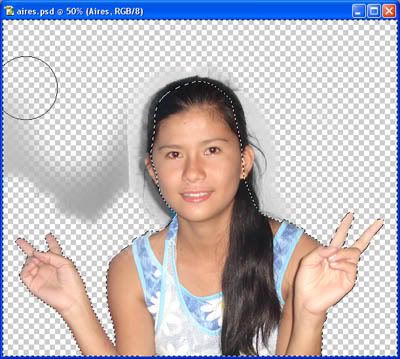
Return to the Mask selection, here’s what the selection looks like.
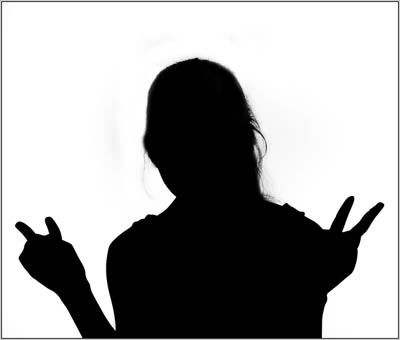
Load the Mask, click on the RGB of channel palette, then go to Layer channel, click the Add Layer mask
You can now copy the Mask image or you can inverse the selection and remove the background, either way you can use it to replace the background of the image.
Add the new layer and paste the new background, do some fine tuning if needed. 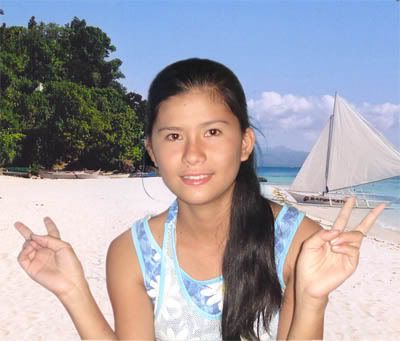
This is a very complex technique, it require some practice just to make it work perfect. You needed to develop your own technique to suites your need. You can even use the history brush to bring back some of the details that have been removed.
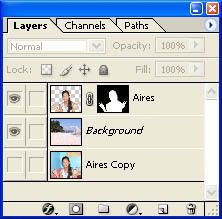
Finish layers