If you want to replace any part of an image, you have to erase the area first so that the transition will be smooth. You can use Healing Brush Tool or the Patch tool, but in this tutorial we will use Clone tool.
Although we can create a new background to make it easy for us, but I just want to show how to use the Clone Stamp tool. Here’s how I do it!
From this…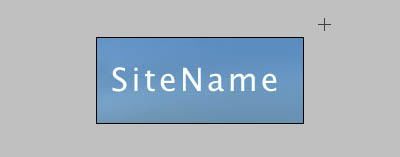
To this…
Open the file, in this case the file Sitename.jpg, select the Clone Stamp Tool or Press S key.
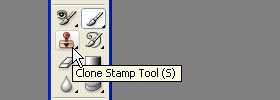
Hold down ALT key and Click the part of the image you want to copy to the area you wanted to remove.
You can now Drag and draw with the selected part of the image to the Image you wanted to be remove. You can always ALT Click to select a new area to be copied again. But you will notice that the color you replace has a visible edges; we can fine tune that later but finish painting the whole area first.
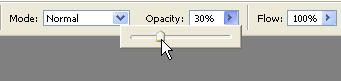
When you’re done, you can now tweak the image with the help of OPACITY tool, just lower the percentage, and then do the Stamp Tool Procedure again until your image looks smooth or you are satisfied with the appearance.
Then, select the Horizontal Type Tool on the tool box or press the letter T.
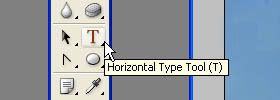
You can change the Font Type and Size of the Text.
Type the Text you want to the image, don’t worry about the location of the text, we can move it to the right place later.
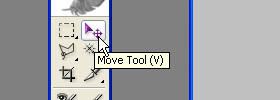
When you’re through typing the Text, you can transfer it to definitive spot with the help of MOVE tool.
When all is set, you can now add enhancement to the text layer.
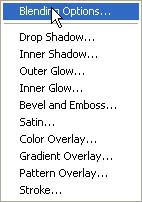
To add Layer Style, go to Layer palette and Click the Add a layer style located at the lower right corner of the Screen.

Select Blending Options
Add what you imagine will look good on your image; I added Drop shadows and Bevel & Emboss to the Final Image and I also replace the text to White. But you can do more.
