Ever wonder how they do a colored portion in a black and white photo? In this tutorials using quick mask I’ll show you how. The trick is how to select the person or area of a photo to manipulate.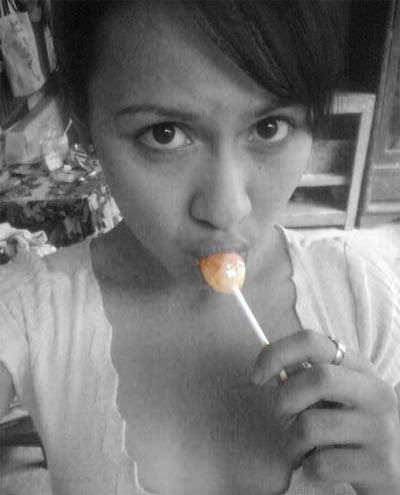
Quick Mask is easy to use but powerful tool for selecting an area of an image. I’ll explain briefly how quick mask work, it's like a masking tape in the real world, when you paint on your house you would cover the part you don’t want to be painted, by using used newspaper and some masking tape, and in Photoshop it work just like that, the area with a pink color will be mask, and the rest will be painted.
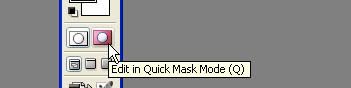
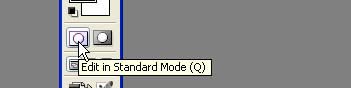
Open the file first, then to use the Quick Mask, click the box with a circle inside at the bottom of the Set Color tool. As shown in the image below.
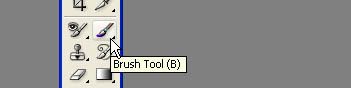
Now select the brush tool.
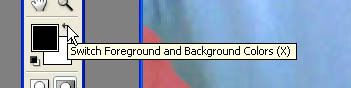
We will use the brush to define the area we want to remove and the area we want to retain, when you paint with black, the area will be mask. And when you paint with white the area will be part of the selection. You can switch between the black and white by simple clicking the Switch Foreground and Background Color on Set Color tool or by pressing the X key.
Use a large size brush to mask the big area, as you seen on the image, you can press the right bracket ] to increase and left bracket [ to decrease brush size. Use smaller brush to fine tune the selection. Press Ctrl + to zoom in and Ctrl – to zoom out.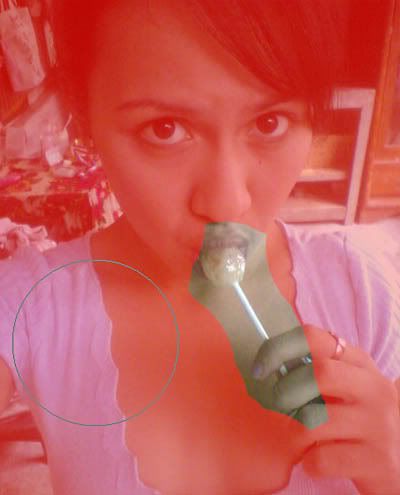
Don’t worry if you over draw the Mask, just switch the color of the brush to white and you can erase the mask. As you can see on the image below, I intentionally selected the part I want to retain, 
Then I simple change to white brush and erase the masked area.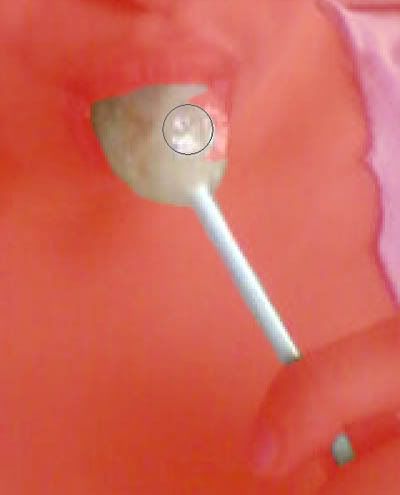
This is what it will look like when you finish masking the image.
To see the whole selection you can switch back to Standard Mode by clicking the box with circle on the left side or by pressing the Q key.
As you can see on the image below, the area without the mask is selected area.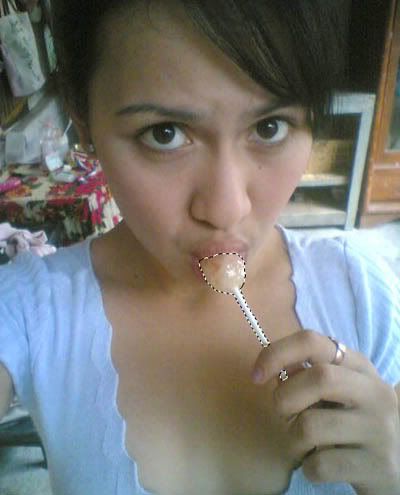
I inverse the selection before I go to the next procedure. SELECT menu, INVERSE or press Shift + Ctrl + I. 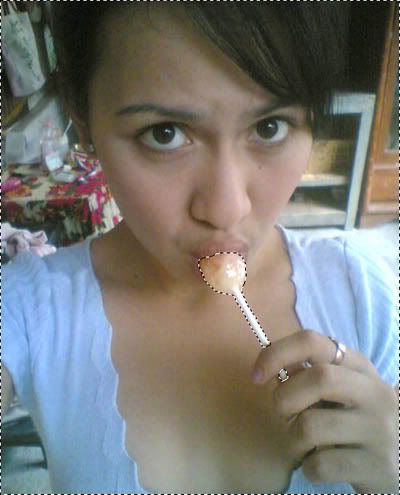
To make the image black and white we need to remove all the colors, we can do that by selecting IMAGE menu, ADJUSTMENT then click DESATURATE or press Shift+Ctrl+U.
The final Image,
