OOB refers to a photo which makes use of the image border to add 3D effect on the image.
This is the way I do it, one of the important aspect is choosing what kind of photo you are using, and in this tutorial I use a frog on top of the keyboard.
From this…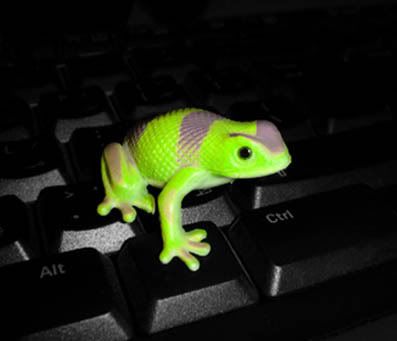
To this…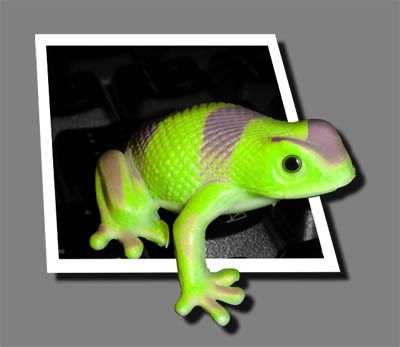
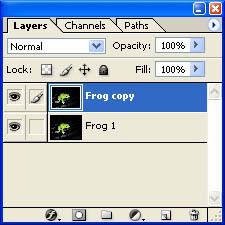
First, open the file and rename the layer name to Frog 1.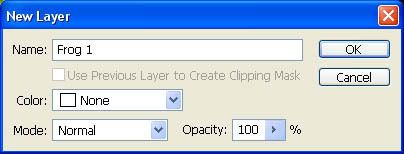
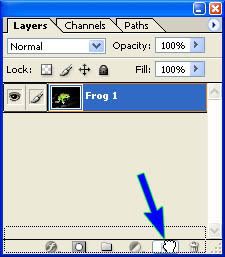
Then drag the layer to Create New Layer icon on the bottom, it’s always a good idea to create a duplicate copy of the original so that when you mess up with the image there is always a good copy you can work on again.
Then rename it Frog copy,
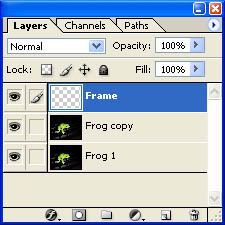
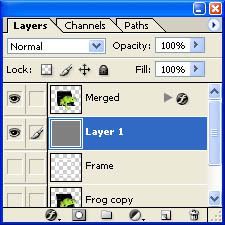
Create another layer, for the frame, its important that we have a separate layers for the frame, rename it Frame.
Click the selection tool, create a square area on the canvas, and fill it with white color. EDIT, FILL or Shift + F5.
Create another smaller square selection then press DELETE to clear the inside area, like the image below.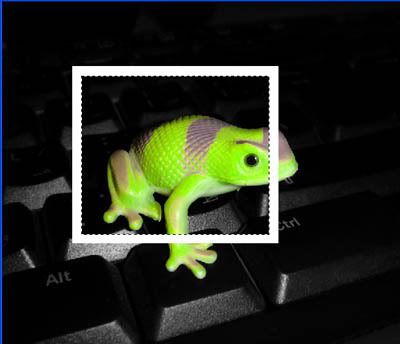
Now we have to modify the frame so it will look laid flat, you can use the PERSPECTIVE tool under TRANSFORM on EDIT menu and SKEW or DISTORT tool to modify it, once you’re satisfied with the appearance you can now move on to the next step.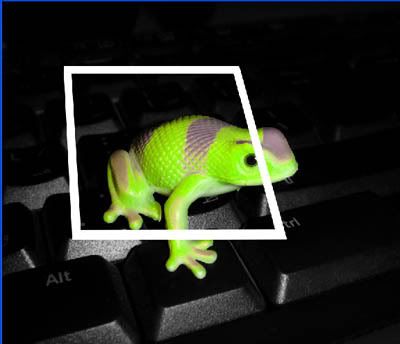
As you have notice the frame appear on top of the image, so we need to delete the part of the frame above the frog to make is appear under the image. Select the area of the frame on top of frogs head. You can use ERASER tool, but I prefer to use the PEN tool since I have more control on how I select the part I want to erase. You can zoom in (Ctrl +) to inlarge and zoom out (Ctrl -) to go back to it's size.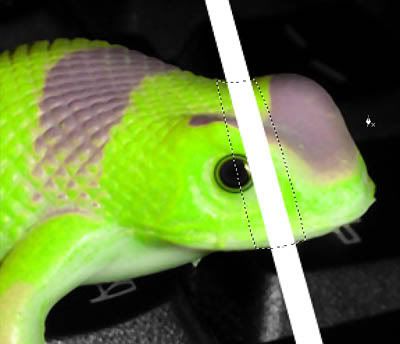
Do it again on frame that appears on top of frog hands.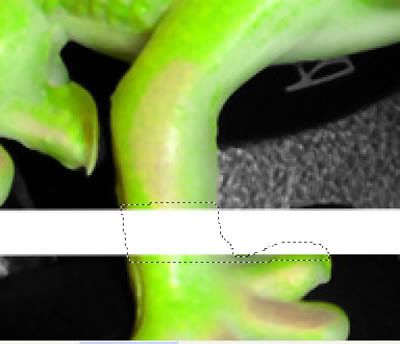
Now that the frame above the head and hand of frog has been removed, we can now delete the outside part of the image. First we need to select the image. You will notice that the selection I make is in the middle of the frame, since the frame is on another layer it has no effect on it. I use PEN tool on selecting the image I want to retain, when you’re done the selection should look like the next image, but we can not use the delete key yet.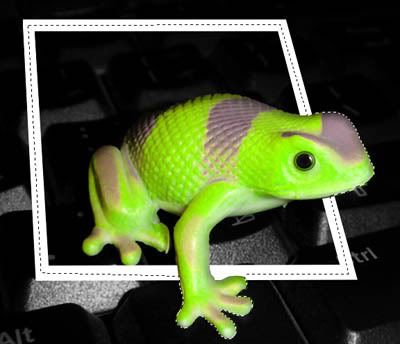
We need to inverse the selection so that when we hit the DELETE key the image outside is the one that will be removed. Under SELECT menu choose INVERSE or press Shift+Ctrl+I. We can now press the DELETE key.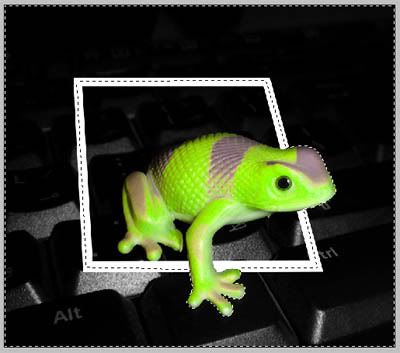
Now that were done, we can add some enhancement to the image. I created another layer, fill it with gray color and added some drop shadows on the finish image. You need to merge the frame and the image first before you can add drop shadows. As you can see on the final layer I added gray layer and merged copy. You can do that by creating a selection on the whole canvass then under EDIT menu, select COPY MERGED (Shift+Ctrl+C) then PASTE, Photoshop automatically add another layer when you paste image.
The final image. You can see the frog appears embossed on top of the picture.
